Blog · DIY vs. professional
DIY Spray Foam Kits vs. Hiring a Professional: What's the Real Difference?
Two-component DIY spray foam kits are real, they work, and they're not a scam — for the right job. The trouble starts when a project that actually needs a plural-component rig and a trained applicator gets tackled with a handheld kit instead. Here's an honest look at where the line sits, what each option really costs once you count the failed batches, and how to decide which one fits your project.
Where DIY kits actually work
Small gaps, rim joists, and minor air-sealing — DIY's real strike zone
Handheld or small-tank two-component spray foam kits are a genuinely good tool for a specific category of job: discrete, isolated gaps where the total foam volume is small and the cavity is simple to reach. Rim joists and band joists around a basement or crawlspace perimeter are the textbook example — a series of short, similarly sized cavities, easy to access, and forgiving if one section comes out slightly thicker or thinner than the next. Sill plates, small gaps around plumbing or electrical penetrations, sealing around a new window or door rough opening, and topping off a few missed spots in existing insulation all fall into the same category.
What these jobs have in common is that they don't depend on perfectly consistent output across a large, continuous area. A kit that yields somewhat inconsistent expansion from one pass to the next is a minor cosmetic issue on a two-foot rim joist bay. The same inconsistency spread across an entire attic floor or a full wall of stud bays is a much bigger problem, which is exactly where kits start to run into trouble.
Where DIY falls short
Whole-attic and whole-wall jobs push DIY kits past their limits
Two-component spray foam only cures correctly when the A-side and B-side chemicals meet in close to a 1:1 ratio, at the right temperature, and get mixed thoroughly at the tip. Small handheld kits manage this reasonably well over a short run because the tank pressure and chemical temperature haven't had much time or volume to drift. Stretch that same kit across a job the size of a full attic or an entire wall of cavities, and small drifts in ratio or temperature compound: foam that's off-ratio can stay tacky, shrink as it cures, off-gas longer than it should, or simply fail to reach its rated R-value per inch — problems that often aren't obvious until well after the job is finished.
Whole-assembly jobs also tend to trigger code requirements that a lot of DIYers simply aren't aware of going in. Many jurisdictions require an ignition barrier over exposed foam in attics and crawlspaces, and a thermal barrier (commonly drywall) over foam in living spaces — requirements that exist because cured spray foam, left exposed, burns differently than the materials it's replacing. A licensed contractor building to a specific foam type and thickness knows which barrier applies to which assembly; a DIY kit doesn't come with that guidance built in, and skipping it isn't a small oversight — it's the difference between a compliant job and one that fails inspection or creates a real fire-safety gap.
What it actually costs
Kit cost vs. professional pricing — closer than most people expect
On paper, DIY looks like the cheaper option. Retail kits are priced per board foot of yield, and that per-board-foot sticker price is almost always noticeably higher than the bulk trade pricing a professional contractor pays for the same material — a professional buying drums at volume and applying it with a plural-component rig is simply working from a lower base material cost than a homeowner buying a small, pre-packaged, pressurized kit shipped to their door. National directional figures put professional trade pricing at roughly $0.40 to $1.00 per board foot for open-cell foam and roughly $1.00 to $1.80 per board foot for closed-cell foam — ranges a retail DIY kit's per-board-foot cost typically sits above, sometimes by a wide margin.
The gap narrows, though, once waste and failure rate enter the picture — and for a first-time DIY applicator, that's rarely zero. Off-ratio batches that have to be scraped out and redone, overspray on surfaces that weren't masked, a tank that runs out mid-cavity and leaves an unusable partial yield, or foam sprayed too thick in a single pass and needing rework all eat into the kit's advertised yield. Add up enough of that on a whole-room job and the real cost per board foot actually installed — foam that stayed on the wall and cured correctly — can land a lot closer to what a small professional job would have cost, before ever counting the value of the time spent doing it. That doesn't make DIY a bad deal on the right job; it just means the sticker-price gap is usually smaller in practice than it looks on a retailer's comparison chart.
There's also a cost that rarely makes it onto either side of the comparison: the homeowner's own time. A weekend spent researching mix ratios, masking off a room, running a first test pass to dial in technique, and cleaning up overspray is real time that a professional crew's per-board-foot price already has built in. That doesn't settle the decision on its own — plenty of people reasonably value doing a small job themselves — but it's worth counting honestly against the sticker price of a kit before assuming DIY is the cheaper path on anything beyond a small, isolated area.
Safety while you're spraying
Ventilation, protective gear, and cure time matter indoors, too
The B-side chemical in two-component spray foam contains isocyanates, a class of compounds that can irritate the eyes, skin, and respiratory tract, and that are associated with sensitization in people exposed repeatedly without proper protection. Manufacturer instructions for even small consumer kits typically call for, at minimum, a properly fitted respirator rated for organic vapors, full skin and eye protection, and active cross-ventilation of the work area — not just an open window, but genuine air movement in and out of the space while spraying and for a period afterward.
Cure time is the other piece people underestimate. Manufacturers publish specific re-entry and full-cure windows for each product, and they're measured in hours, not minutes — people, pets, and anyone without protective gear should stay out of the space until that window has passed. Every kit's instructions and safety data sheet are a little different on exact numbers, which is exactly why they need to be read for the specific product in hand rather than assumed from a different kit or a forum post.
Where the equipment gap shows up
Plural-component rigs and trained applicators change what comes out of the gun
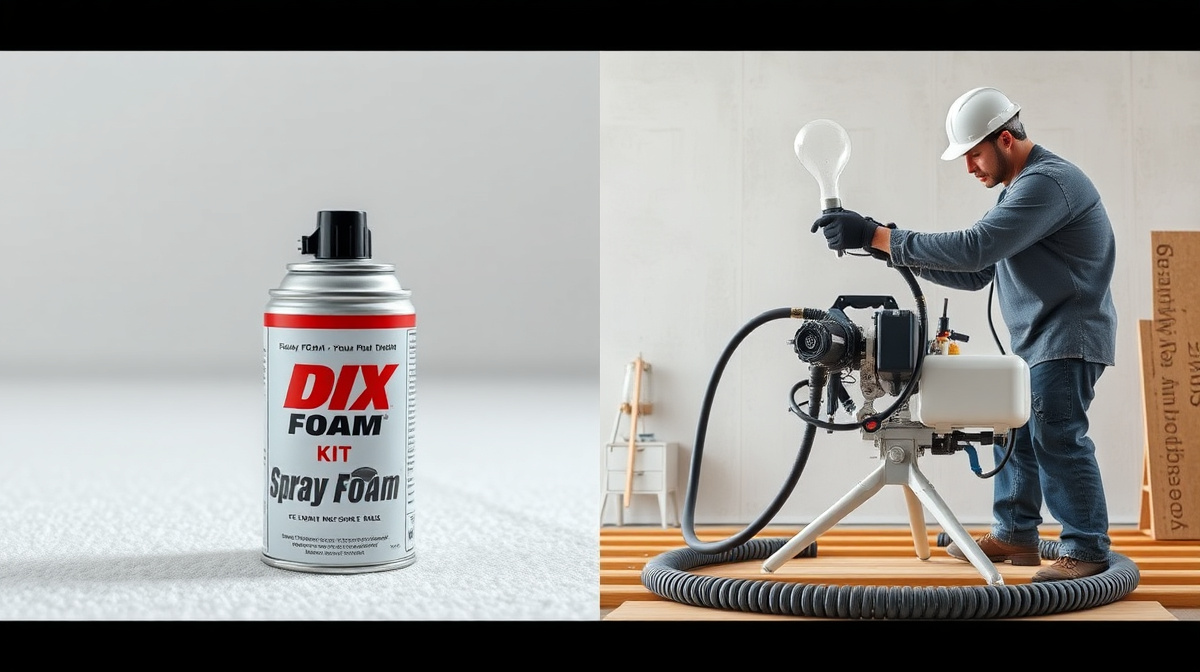
A professional spray foam rig continuously heats and pressurizes both chemical components and maintains a precise mix ratio for the entire length of a job, whether that's twenty minutes or several hours. That's the mechanical difference a handheld kit can't replicate at scale: consistent yield, consistent cell structure, and correct expansion pass after pass, instead of the ratio and temperature drift that creeps into a long DIY session as a small tank warms, cools, or loses pressure.
Training closes the rest of the gap. An experienced applicator knows how thick to lay each pass — spraying too thick in one shot can trap heat and scorch the foam or cause it to shrink back as it cures — and knows how to read a cavity for hidden voids behind blocking, wiring, or irregular framing that a DIYer working from the front face alone can easily miss. That combination of equipment and trained technique is what actually produces a uniform, code-compliant, correctly expanded fill across an entire assembly, and it's also what lets a job get documented and signed off if an inspection is involved — something a DIY install generally can't offer.
If you're on the fence
An honest way to decide
A few practical questions tend to settle most borderline cases. Is the area a small number of isolated, similarly sized gaps, or one large continuous cavity? Is the space easy to access and well ventilated, or an overhead crawlspace or attic with limited room to work? Does the project trigger a code-required barrier or an inspection, and would documentation of thickness and R-value matter later — at resale, for example? And, honestly: has a first attempt already produced foam that looks inconsistent, shrunken, or still tacky well past the manufacturer's cure window? Any one of those pointing toward “large,” “hard to access,” “code involved,” or “already not going well” is a reasonable signal to bring in a professional rather than push a kit further than it's built for.
A DIY kit is usually fine for
- ✓Rim joists, band joists, and sill plates
- ✓Small gaps around plumbing, wiring, or duct penetrations
- ✓Sealing a new window or door rough opening
- ✓Topping off a few missed spots in existing insulation
- ✓Minor air-sealing where a slightly uneven finish is a non-issue
Call a professional for
- ✓A whole attic, roof deck, or full wall of cavities
- ✓Any job where local code requires a specific thickness, R-value, or ignition/thermal barrier
- ✓Hard-to-access spaces — tight crawlspaces, overhead attic work
- ✓Projects that need documentation for an inspection or future resale
- ✓A DIY attempt that already shrank, stayed tacky, or cured unevenly
Neither option is inherently the “right” one — a DIY kit spent correctly on a rim joist is money and time well used, and a professional install on a whole-attic job isn't an upsell, it's what actually gets a large, code-governed assembly done right. The honest version of this comparison isn't DIY versus professional in the abstract; it's matching the size, complexity, and code exposure of the specific job in front of you to the tool that's actually built for it.
Not sure which side of the line your project is on?
Tell us about your project and we'll connect you with licensed spray foam contractors near you who can size it up properly — free, no obligation.